How to Install WordPress
So, you’ve decided to install WordPress? Congrats! You’re now on the thrilling journey of building a website that will either make you rich or haunt you with infinite plugin updates. Let’s get started!
Installing WordPress is pretty straightforward. You’ve got two main ways to do it:
One-Click WordPress Install or The Lazy Genius Method
Most hosting providers offer a magical one-click install for WordPress. This is perfect if you want a website but don’t want to deal with technical headaches. Here’s how:
- Log in to your hosting account like a pro.
- Find the WordPress Installer—it’s usually hiding in cPanel or your hosting dashboard. Look at the image bellow.
- Click Install WordPress (yep, that’s literally it).
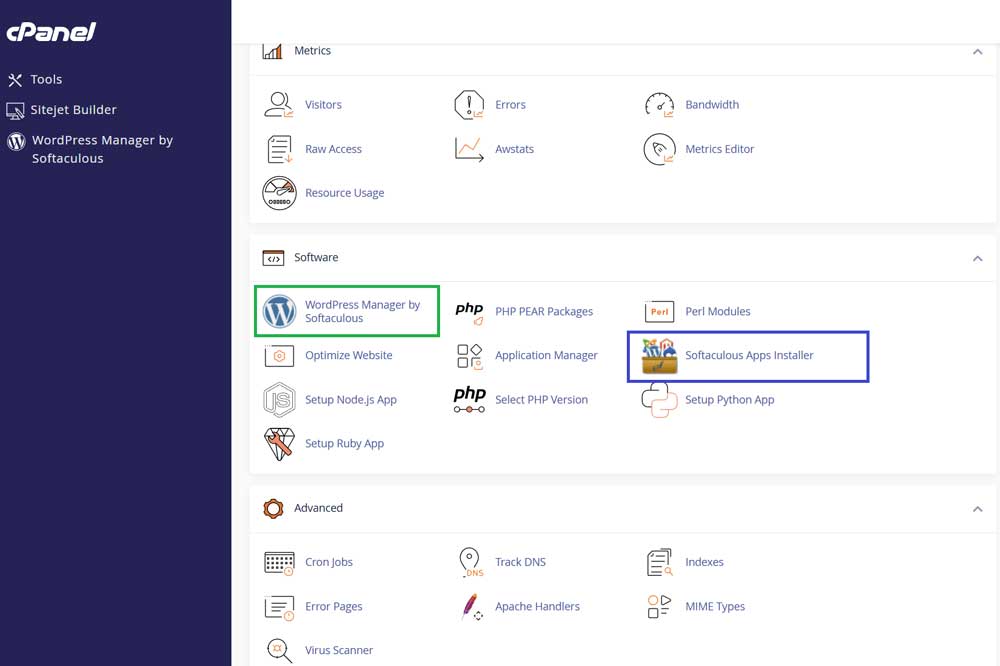
4. Pick your domain, fill in some basic details, and smash that Install button.
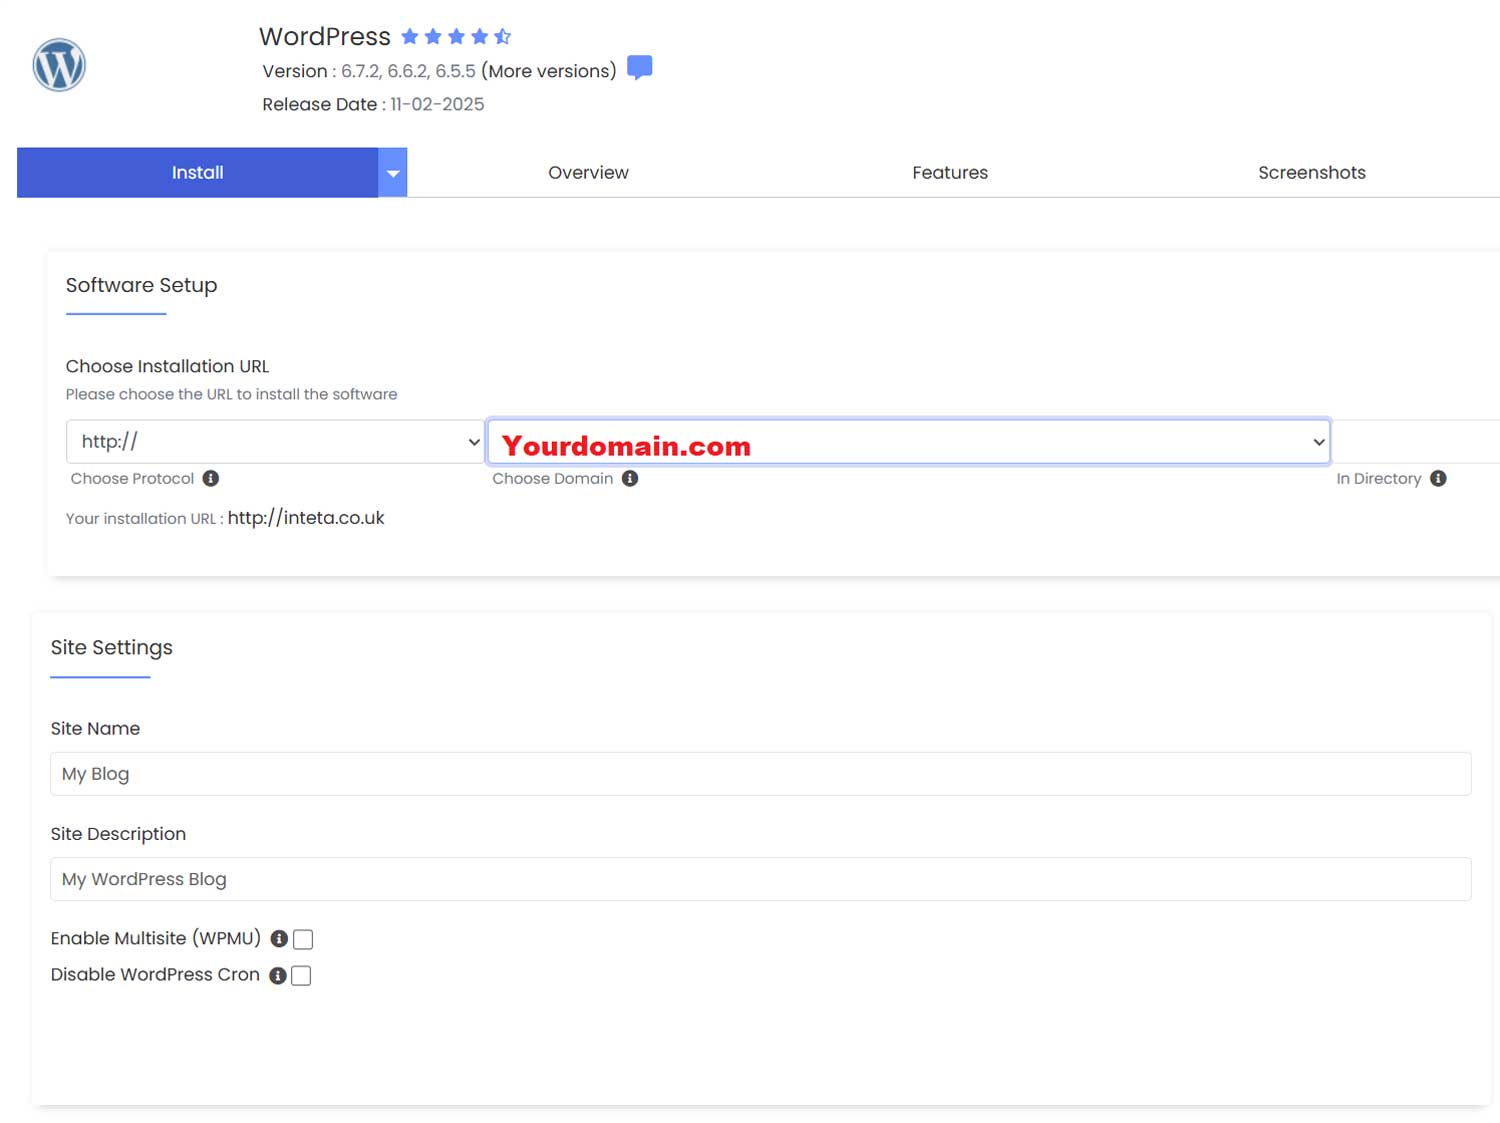
Let’s break WordPress Installation so Grandma can understand:
- From the dropdown, choose HTTP or HTTPS. If you plan to use an SSL certificate and avoid annoying “not safe” messages when someone visits your website, you need to install an SSL certificate first and then install WordPress. Choose the “https://” option if you installed an SSL certificate. You can do it later, but it will be a pain; all images and other assets need to have the new URL…
- Pick your domain. If you plan to use “yourdomain.com/somefolder” for your website, enter that in the Directory field; if not, just leave it empty.
- Enter your basic info: admin username, password, and your email address. This info is important to copy and store, you will use it every time you want to edit your WordPress website.
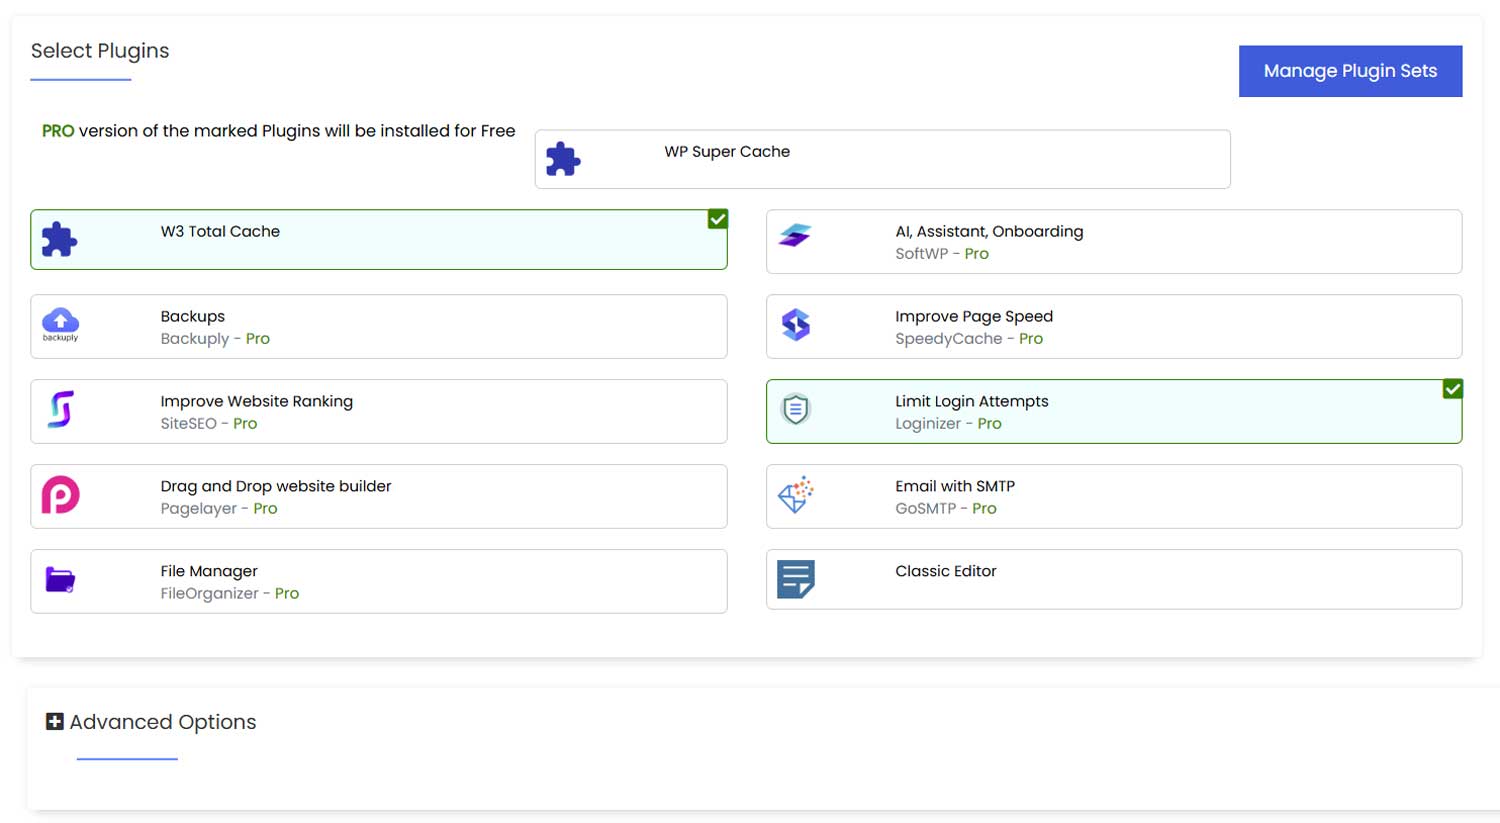
- You can choose which plugin you want to include in the installation. You can add plugins later from the wordPress admin panel.
- Advanced options are just fancy names for more options. You can set it if you want backup for your website, auto-upgrades for themes and plugins, etc.
- At the end, type your email, and when is installation is done, you will get the welcome email.
- Wait a few minutes, time to grab coffee ☕.
- Boom! Your WordPress site is live. Log in at yourdomain.com/wp-admin and start ruling the internet.
The most common error in WordPress installation is the PHP version
So, your website is yelling at you about an outdated PHP version? Or maybe a plugin is demanding a specific PHP update like a diva? No worries—I got you covered. Let’s fix this in cPanel in just a few clicks.

- Scroll down like a pro and locate “Select PHP Version” (usually under the Software section, same section where we start WordPress Installation).
- If you can’t find it, your hosting provider might be hiding it like a rare treasure. Search for “PHP” in the cPanel search bar.
- Click on the dropdown menu, and you’ll see a list of available PHP versions, from ancient to the latest.
- Select the version recommended by your website or plugins. If unsure, go with the latest stable version, newer is usually better.
Manual WordPress Installation
For Control Freaks & Tech Wizards
If you like to suffer—uh, I mean, if you want full control—you can install WordPress manually.
Step 1: Download WordPress Like a Boss
- Head over to WordPress.org and grab the latest version.
Step 2: Upload to Your Server – Because Drag & Drop is Life
- Option 1: Use an FTP client (like FileZilla) to upload the WordPress files to your public_html folder. You need to unpack (unzip) and upload all files to your host. Just drag them all. Be aware my friend, you need only files, not a WordPress folder, only what is inside that folder (wp-admin, wp-includes, and other stuff).
- Option 2: Unpack and just pack (zip) files that are inside the WordPress folder (wp-admin, wp-includes, and other stuff). If you use a downloaded zip, you will get a folder that you don’t want. Then just drag and drop through the cPanel File Manager. After it is uploaded, just unzip. All files need to be in your public_html folder.
Step 3: Create a Database – Don’t Worry, It’s Not Scary
- Log in to cPanel (your hosting control panel).
- Find MySQL Databases, it sounds fancy, but trust me, it’s just a place to store your site’s brain.
- Create a new database and a new user, think of it as naming a pet, but less cuddly.
- Save the database name, username, and password, you’ll need these later, and no, “password123” is not a good idea.
- Add all privileges to a user, just check the box.

Step 4: Configure WordPress -Almost There, Stay With Me!
- Open yourdomain.com in a browser.
- Choose your language
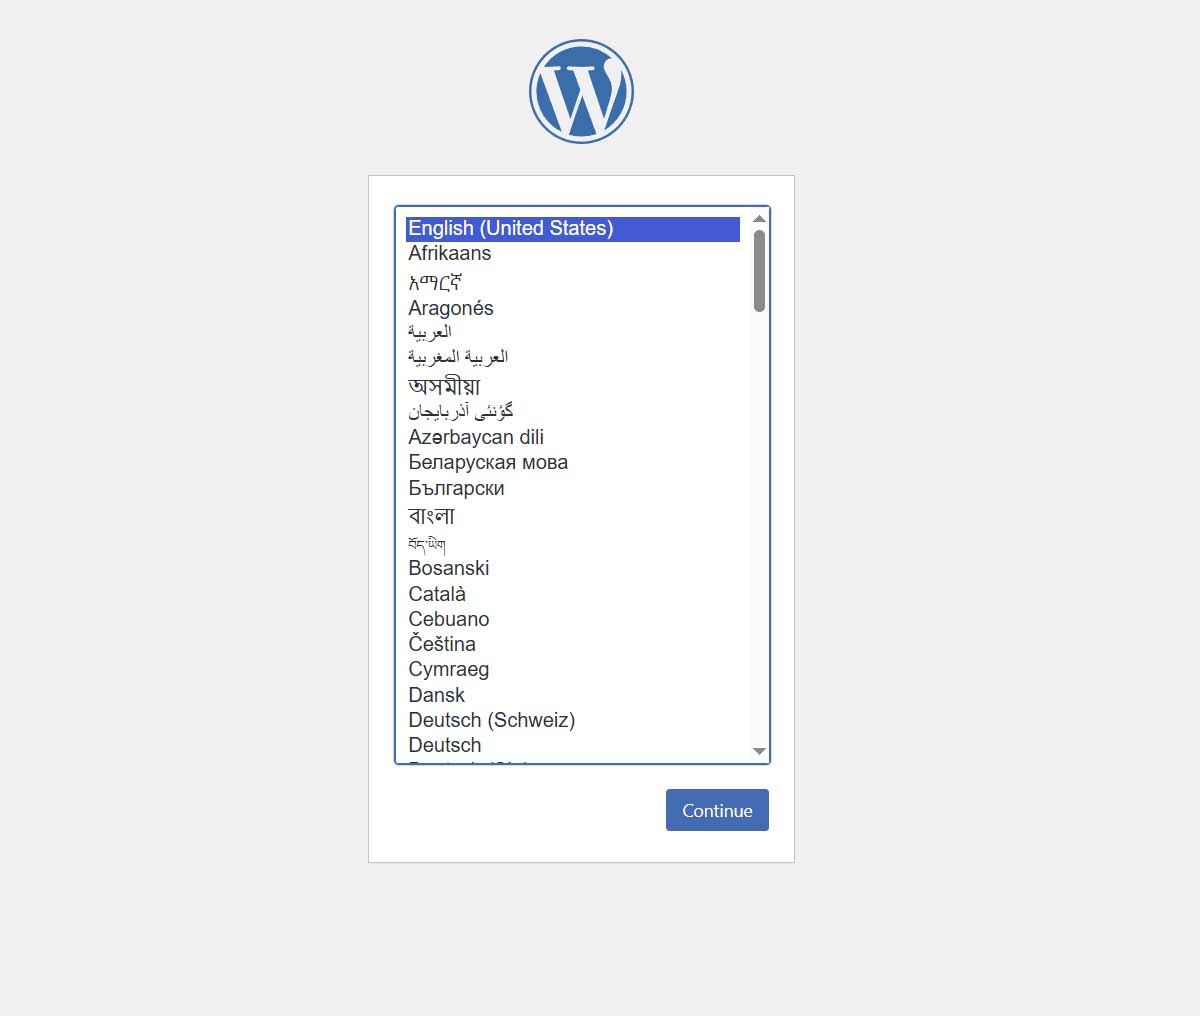
- Follow the super-friendly WordPress setup wizard.
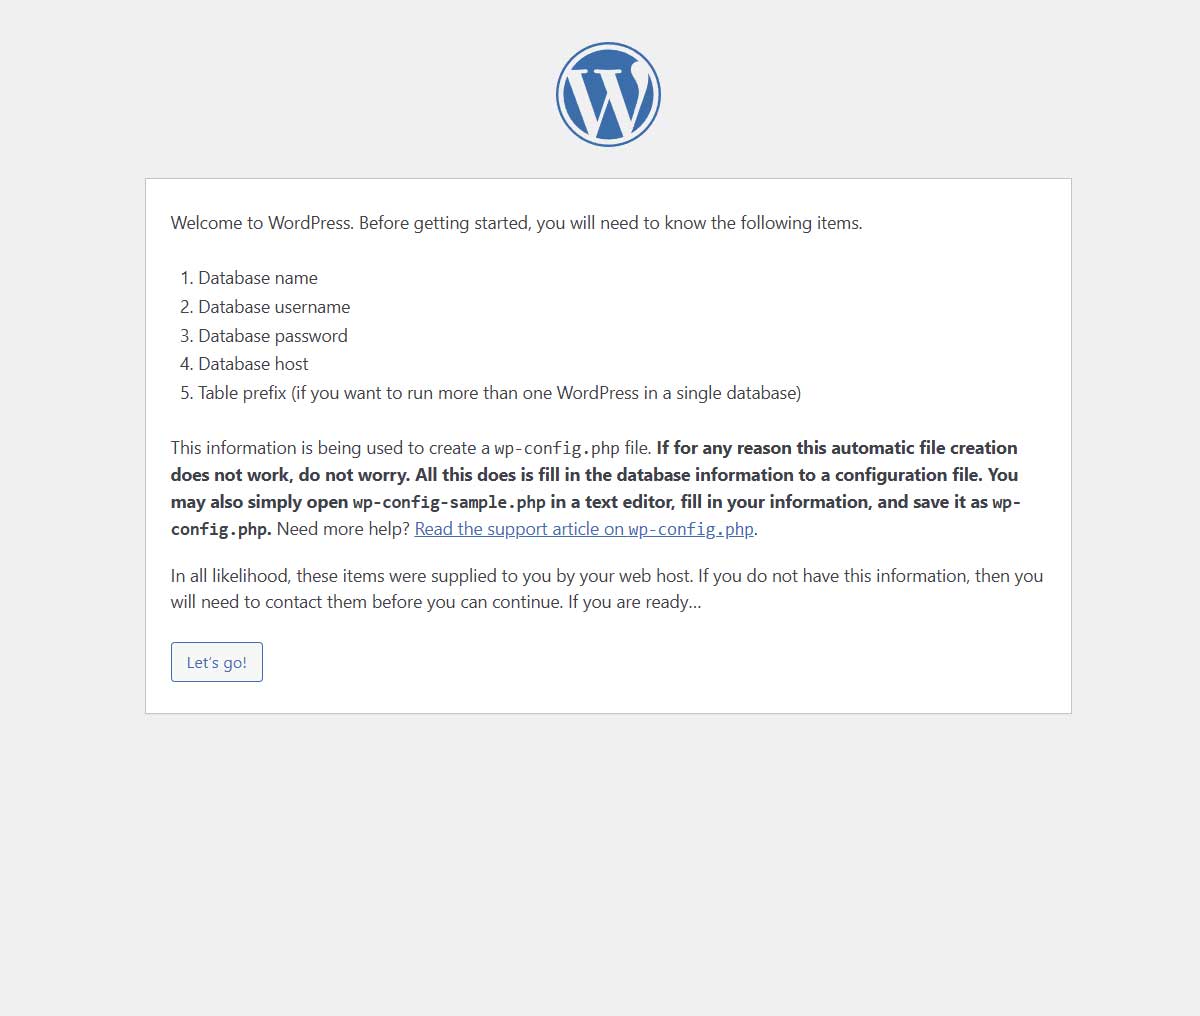
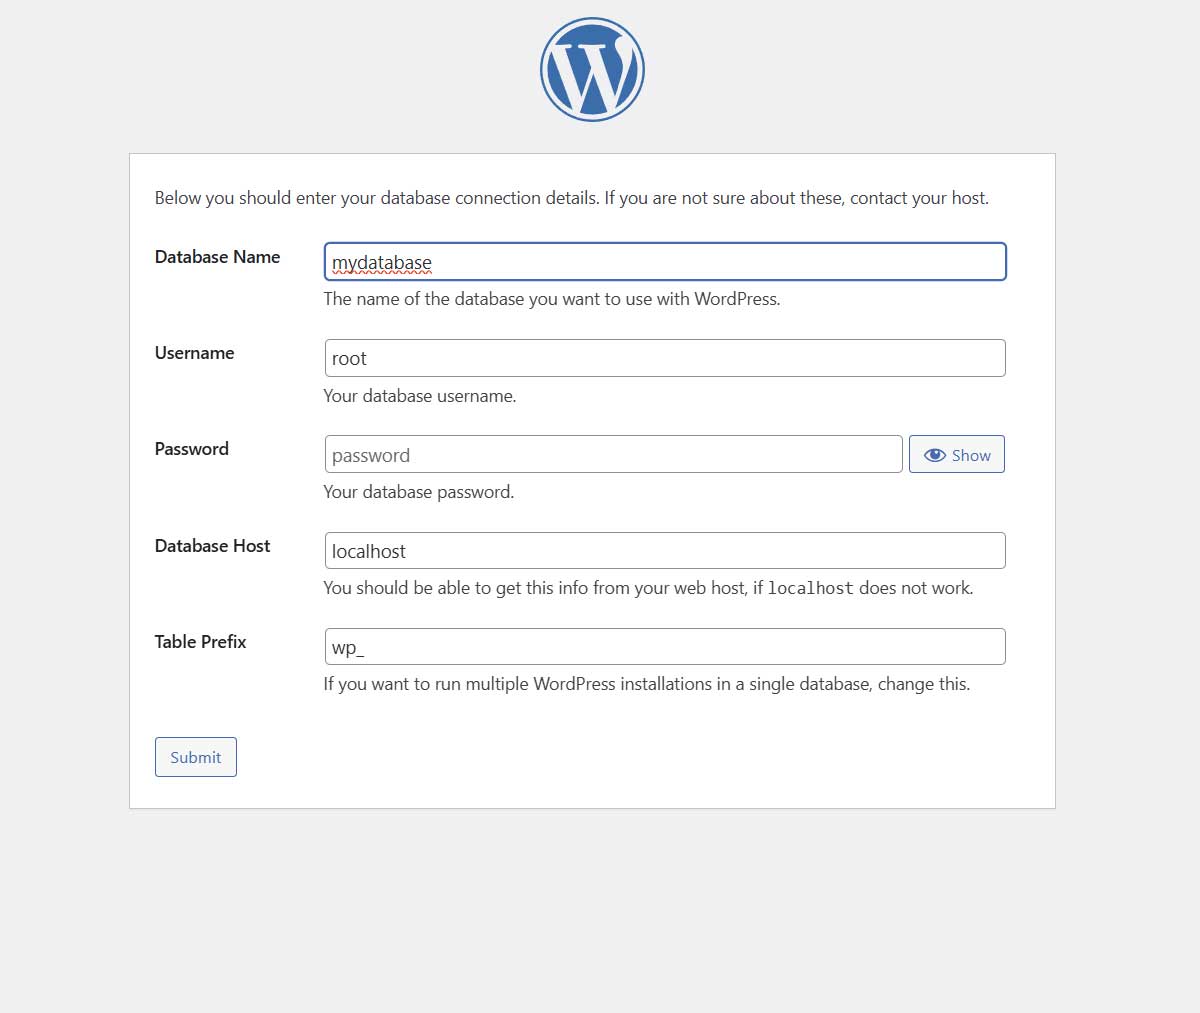
- Enter your database details like a tech genius. Remember that we created this earlier in step 3.

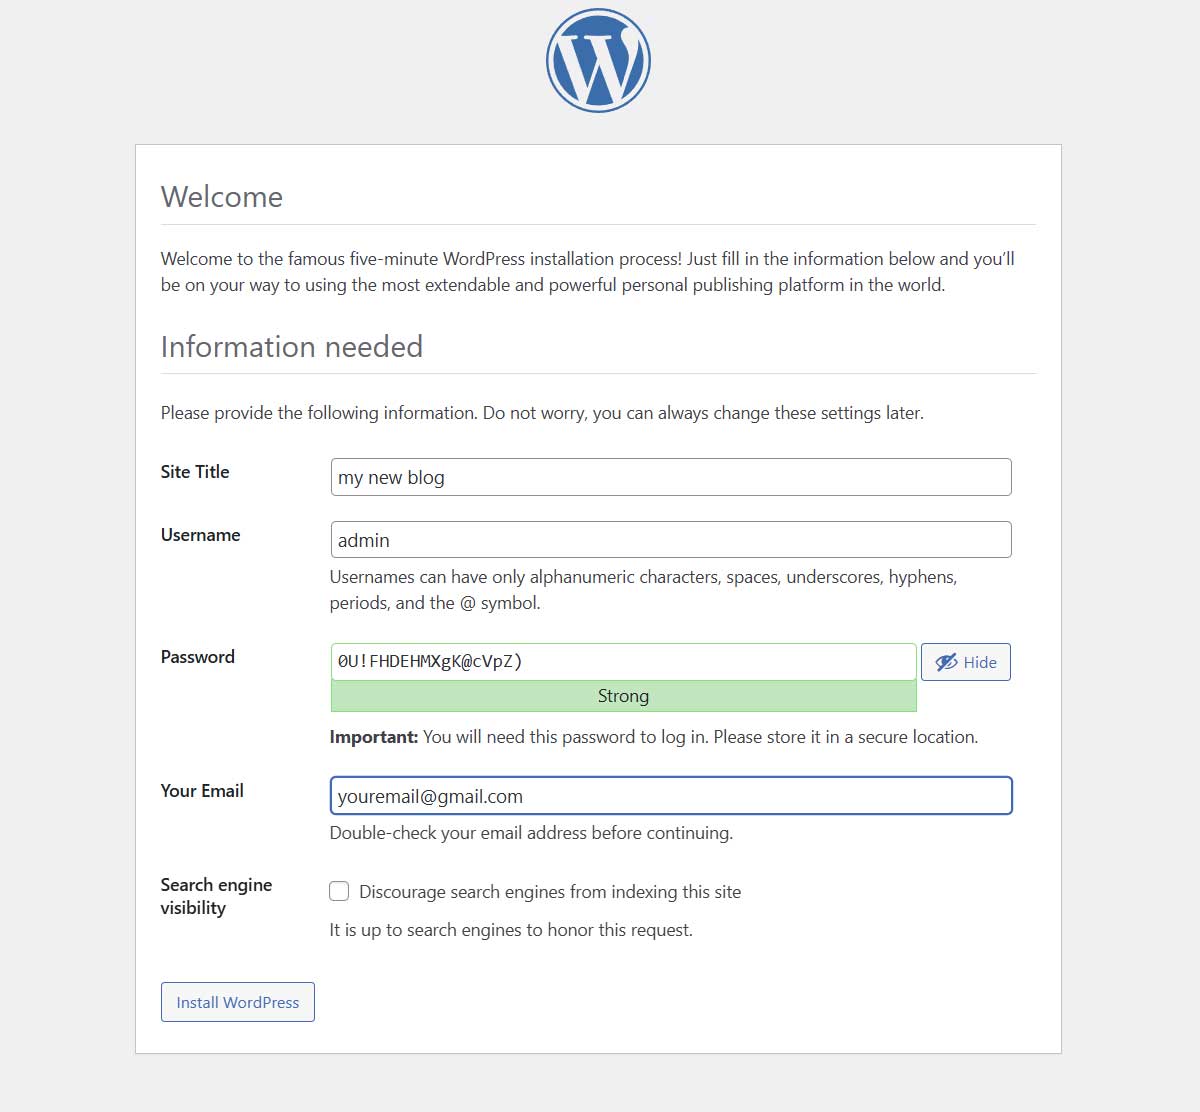
- Choose an admin username and password (seriously, make it strong).
- Click Install WordPress and let the magic happen.
Step 5: Log In and Start Playing
- Visit yourdomain.com/wp-admin, log in, and customize your site.
- Enjoy your new power, but beware: plugins will become your best friend and worst nightmare.
Installing WordPress Locally – The Secret Lair Setup
If you just want to mess around with WordPress without breaking the internet, install it on your computer using:
- XAMPP for Windows/Mac users who like buttons. All files need to be in the htdocs folder inside XAMPP.
- LocalWP (for those who just want an easy life).
- The same steps apply, but use localhost/yourfolder instead of a live domain.
Now go forth and build something awesome!
Author: Big Digital Bear

